If you walk around our neighborhood at night, particularly during winter when it gets dark way too early, you will notice that in many apartments there are dramatic lamps hanging in the center of most rooms. Danes love beautiful, eccentric lamps. They seem to be an essential component in dealing with the long dark, grey winters here in Copenhagen.

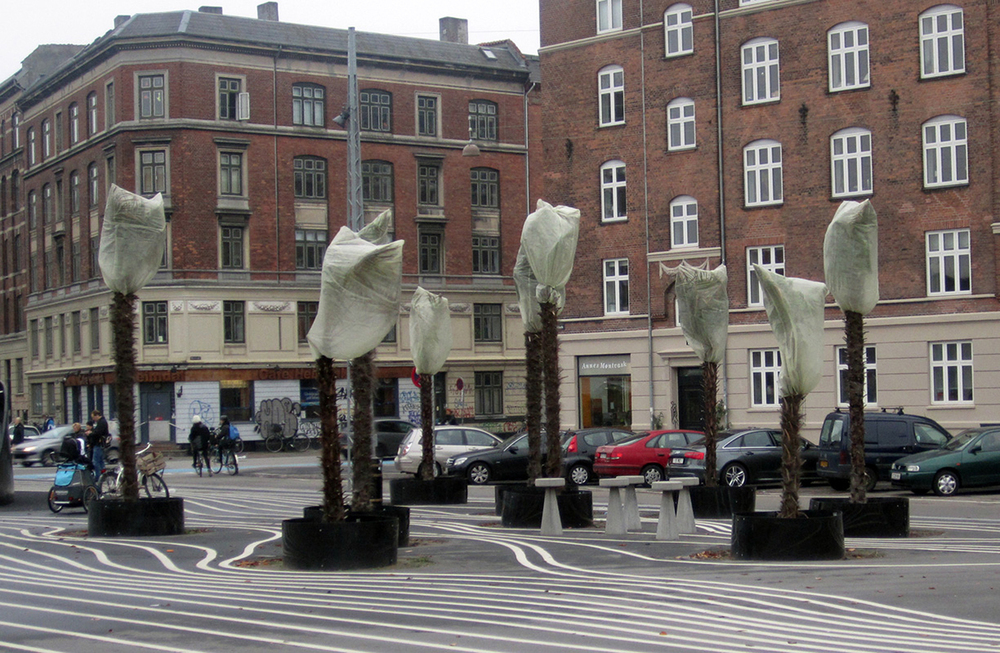
We have a beautiful lamp that we found in a vacant lot (pictured above – Louis Poulsen?). It was a bit smashed up, but once cleaned up and rewired, it made for a very nice addition to our apartment.
We had been looking for a nice lamp for our main living room. We only had lighting on the floor, which was great when you wanted to relax, but impossible to use for anything else, like reading for example. We decided to make our own lamp to fill this need.
What follows are instructions on how to make your own if you would like. It isn’t hard, but takes some time to do right.
What you will need to make this lamp:
- utility knife
- masking tape
- glue
- found cardboard, 2 ply
- newspaper
- scissors
- ruler
- small bowl
- paint brush
- drafting compass ( can also be a nail, a pencil, and a piece of string)
Step 1 – Making a template:
The lamp form is made up of 40 equilateral triangles. Make a template for generating all of the necessary equilateral triangles. Use your compass to draw an equilateral triangle. If you don’t have one, you can easily make one with string and two nails or two pencils.
Take a piece of string. Tie a slip knot in one end and fit it around the end of one of the nails. Determine the length of the side of your triangle (we made ours 17 cm). Draw a straight line on a sheet of cardboard. Draw a point on the line. Use your compass and make a half circle. Start with the compass fully extended and perpendicular to the line. Make the half circle until it intersects with the line. Now you have a new point on the line. Move your compass to the new line and repeat the previous step. You will see a point where the two half circles intersect. Use your ruler to draw a line from this intersection to the two points on the line. You now have an equilateral triangle. Cut the triangle out with your ruler and utility knife.
Step 2 – Making 40 equilateral triangles:

Trace your template onto your found cardboard. You will need 40 triangles in all. Use the ruler and utility knife to cut them out.
Step 3 – Make 5 hexagons:

Make 5 hexagons like the one pictured above. Join the pieces together with masking tape pressed firmly in place.
Step 4 – Connect the hexagons:

Attach the hexagons to one another. Use a single triangle to connect each hexagon to the next in the manner shown in the image. Make sure to attach one more triangle on the end as the entire construction will be folded in on itself and the last hexagon in the string will be attached to the first.
Step 5 – Give the lamp its shape:

Attach the top of the first hexagon on the left to the top of the one adjacent to it. Repeat with the remaining hexagons. Work around until the first hexagon folds around to meet the last hexagon. A hole in the shape of a pentagon should remain as pictured above.
Step 6 – Finishing the form:

Make a pentagonal form out of the remaining 5 triangles. Connect the triangles together exactly like you did with the hexagons, but instead of putting a sixth triangle, you fold the edges of the exposed triangles together to make a pentagon. Attach the pentagon to the open space left by the last step. Once the pentagon is attached, stabilize the form. You will need to apply small pieces of tape to both the inside and outside to make the form regular and solid. This may take a bit of practice and redoing some of the connections you make. Eventually, the form should look even all around like in the images.
Step 7 – Applying the newspaper to the form:

Poor glue into a bowl. Use the brush to apply the glue to the cardboard surface. Cut small strips of newspaper. Attach the strips one at a time. After applying a strip, brush it over with glue to seal it in place. This will make the surface strong. Overlap the pieces of newspaper in a manner similar to that in the image. Only one layer of newspaper is necessary. Once you have covered the outside of the lamp, repeat the process on the inside until every bit of cardboard is covered.
Step 8 – Paint the lamp:

Paint both the inside and outside. Choose colors that suit your needs.
Step 9 – Seal the lamp:
Use non-toxic, water-based lacquer to seal the lamp. Cover the inside and outside and inside with at least 3 coats. This will make it easier to clean the lamp and extend its life.
Step 10 – Wire and hang the lamp:

We found an old light socket and electrical cord in the trash. It didn’t need to be wired and that made the job extra easy. However, this is not very difficult to do. To hang the lamp, we drilled a hole in the top of the form and fed the wire through it. The lamp rests solidly on the socket. We affixed the wire from the lamp to the wire coming from the wall using a simple connector. In the U.S., it is common to use a small plastic screw cap to attach two wires together. Here in Europe we used a small plastic connector where you need a screwdriver to fasten the wire in. Connect the wire from one side and mirror the connection on the other making sure you match the colors of the wires.
If you enjoyed this article, please consider sharing it!


Alphabet of the Anthropocene – Powerless Powerpoint
Radio Aktiv Sonic Deep Map (2013)

SUPERKILEN – Extreme Neoliberalism Copenhagen Style
Download our guide:
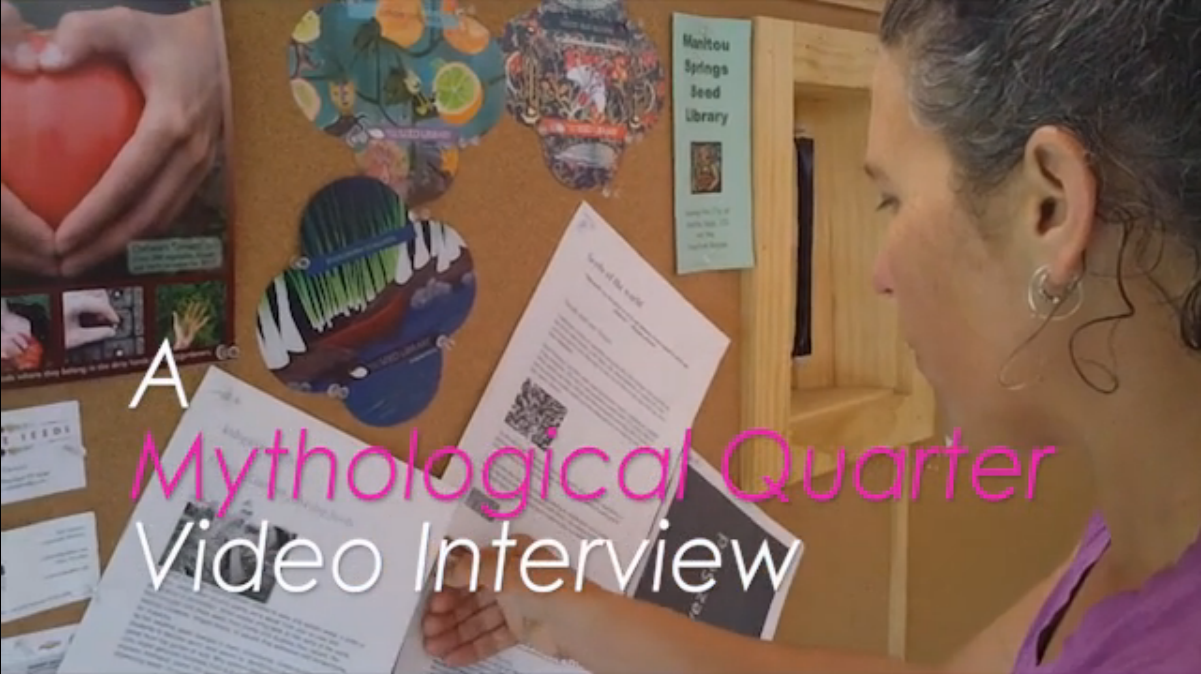
Video interview:
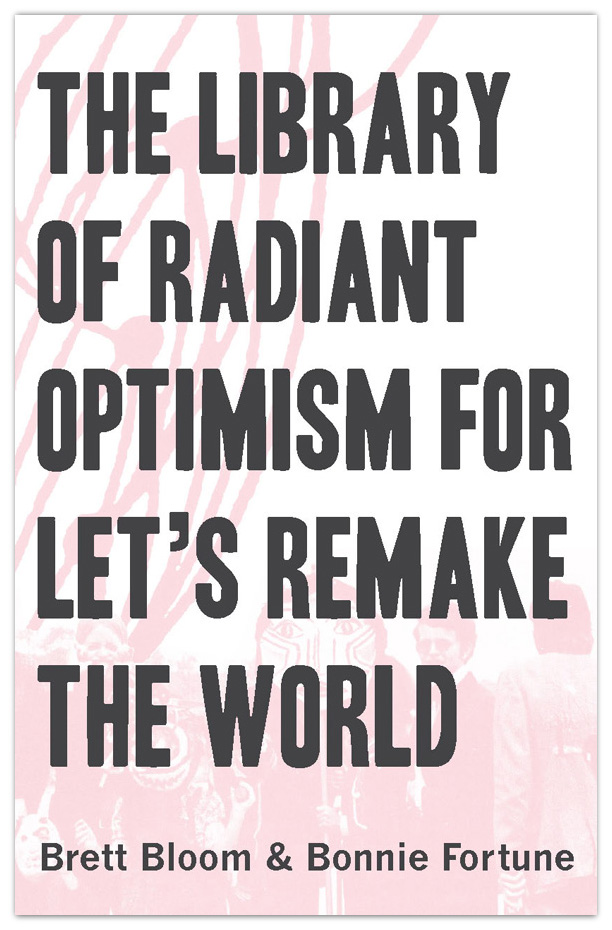
BOOK: Deep Routes

BOOK REVIEW: